


Wind Removing Yoga Pose (Pavanamuktasana): Great pose for your posture
Pavanamuktasana is generally an easy pose that can be practiced by everyone. It is a simple pose that offers many wonderful benefits. This pose can be added to any yoga flow, and this post is going to go over the benefits, how to correctly do the pose, tips and tricks, and modifications and recommendations for the pose. Let’s get started.
Benefits of Wind Removing Pose
This wonderful pose has several benefits that can be enjoyed by anyone and everyone. Whether you practice yoga daily or only every once in a while, this is a lovely pose to incorporate into your flow, and here’s why:
- Wind Removing pose massages the organs of the abdomen. Just like our muscles, our organs work hard. That being said, having a nice massage can help to keep the organs in good working shape and keep them doing their jobs for longer.
-
It releases air and gases that can be trapped in the body. Our bodies are incredible and can do so many things, but sometimes, air and gases can get stuck inside and our body is unable to get rid of them. That is why this pose is so great. It helps to release these air pockets and gases so as to relieve your body of gases that can block the intestines and create space for fresh air in your body.
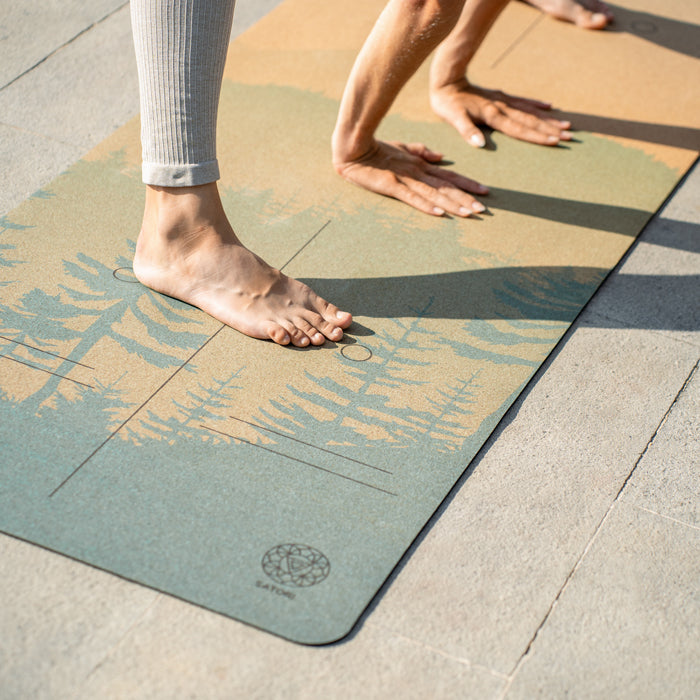
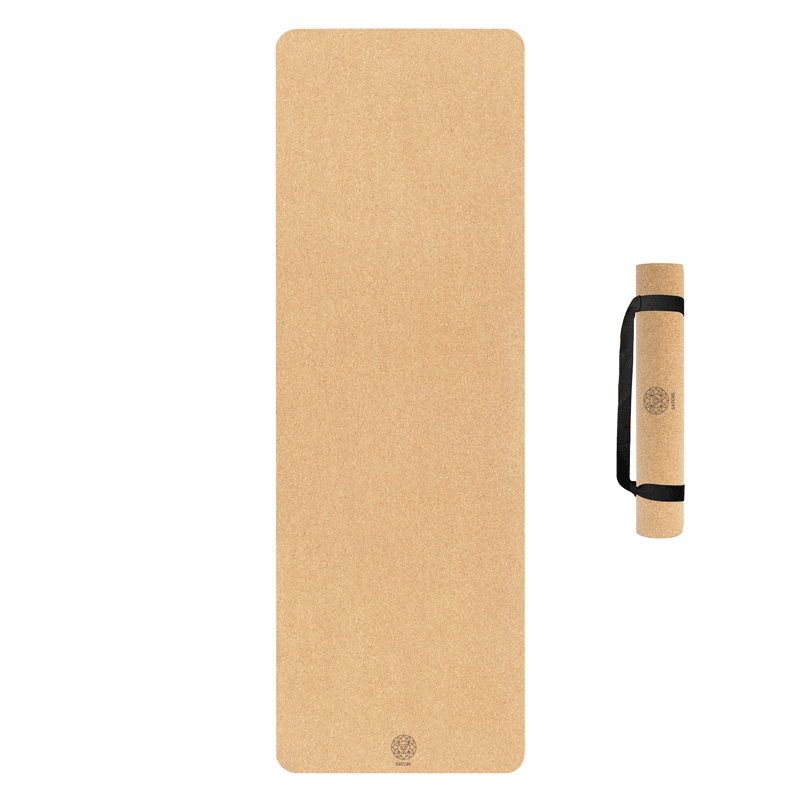
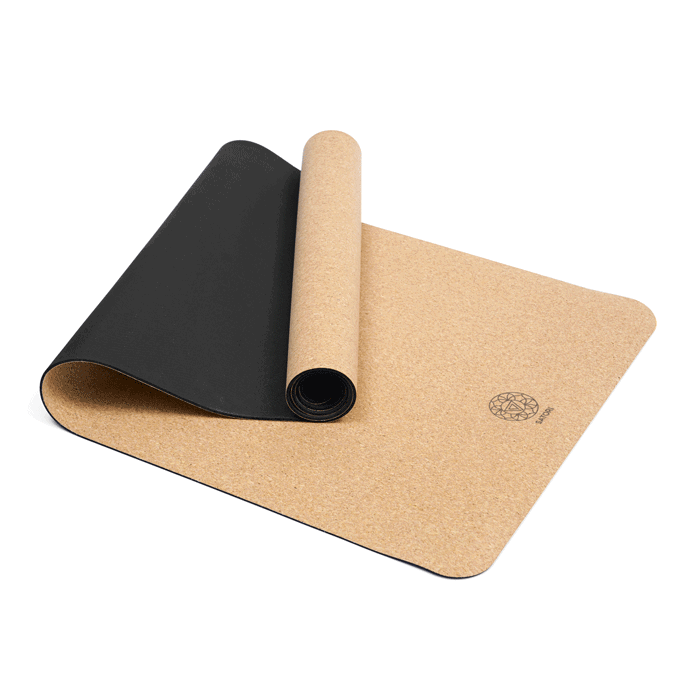
Recommended: Cork Yoga Mat
-
The wind removing pose stretches the back and abdominals. If your body is in need of a good stretch, this is it. It can help to relieve lower back pain and help your posture.
-
It can help regulate and normalize hydrochloric acid levels in the stomach, helping your body with digestion. This can also help with any discomfort in the abdominal area due to trapped gases or abnormal hydrochloric acid levels.
As you can see, the benefits of this pose are numerous. And what’s more? Anyone can do it! It is a wonderful pose for beginner, intermediate, and advanced yogis.
Related: Top Yoga Pose
How To Do The Wind Removing Pose Correctly
Here we will take a look at step by step instructions on how to do the wind removing pose correctly. Let’s take a look:
- Begin lying on your back with your legs stretched out straight.
- Bend your right knee and draw it up to the outside of your right rib cage, using your arms to squeeze it in to your side.
- Take a few deep breaths in this position, really squeezing your leg into your side.
- Release your right leg and repeat the steps on your left side.
- Once you have completed this on both sides, you have the option to bring both knees up toward your chest and squeeze them in with your arms. Rock back and forth in this position 5 to 10 times.
- Release and continue with your practice.
You can have a look at this amazing instruction video from Landon Slaughter
3 Tips For Wind Removing Pose
This pose is very easy and can be done by anyone. However, there are some things that you should keep in mind when practicing this pose. Here are some tips to help you get the most out of this yoga pose:
-
Remember to flex your feet. When in any yoga pose where your knees are bent, it is better to flex your feet, engaging your lower leg which will help to keep your knees safe from injury.
-
Continue to breathe deeply. While in a lying pose, we sometimes revert back to our normal, shallower breath. However, in order to receive the beneficial clearing of old, stale air to make room for new air, you must breathe very deeply in this position. Because you are squeezing your knee against your rib cage, you are squeezing all of the old air that can get trapped inside of your body out. However, you can only do this if you are taking long, steady, deep breaths.
-
Relax your shoulders. Because you are using your arms to squeeze your leg into your side, your shoulders will probably tense up. However, to fully enjoy this pose and all of its amazing benefits, you should focus on using your arms to pull your leg in while relaxing your shoulders and letting them fall to the floor. At first, this might seem odd or even difficult, but it is possible and will allow you to fully enjoy and benefit from this yoga pose.
Modifications for Wind Relieving Pose
This is a very simple pose, and is great for beginners. It can be done by anyone, which is what makes it wonderful. However, there are some ways to modify this stretch if needed. Here’s how:
-
Use a yoga strap. If you have a hard time clasping your hand around your leg, you can use a yoga strap around the leg and hold it with both hands on either side. By pulling down on the yoga strap, you can achieve the same results as pulling down on your leg, but it is easier for those who are less flexible or who cannot reach their leg.
-
Bend the other knee. If you have very tight hips, it may be difficult to extend one leg while hugging the other knee in. In this case, you can bend your other knee and place the foot flat on the ground. This should make this stretch a little more accessible. Because your leg is not extended, your pelvis and hips do not have to open quite as much, making this pose easier to do for those who are tight.
-
To deepen the stretch, bring your nose to your knee when in the pose. If you want even more of a full body stretch, then moving your nose toward your knee can engage the abdominal muscles and lengthen the spine a bit more, moving you deeper into the stretch.
The wind removing pose is an excellent addition to any yoga practice, whether you are a seasoned yogi or just starting out. Because of its many benefits and the fact that it is easy to get in and out of, it is a wonderful pose to include in your flow.
Photo credit : Unsplash
Video credit : Youtube


